How to lay artificial grass on the terrace: a practical guide for a flawless result
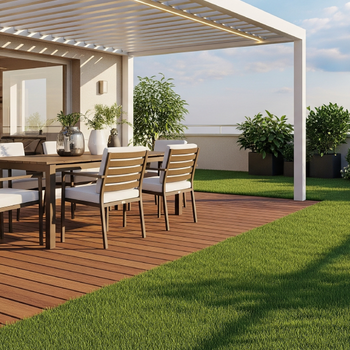
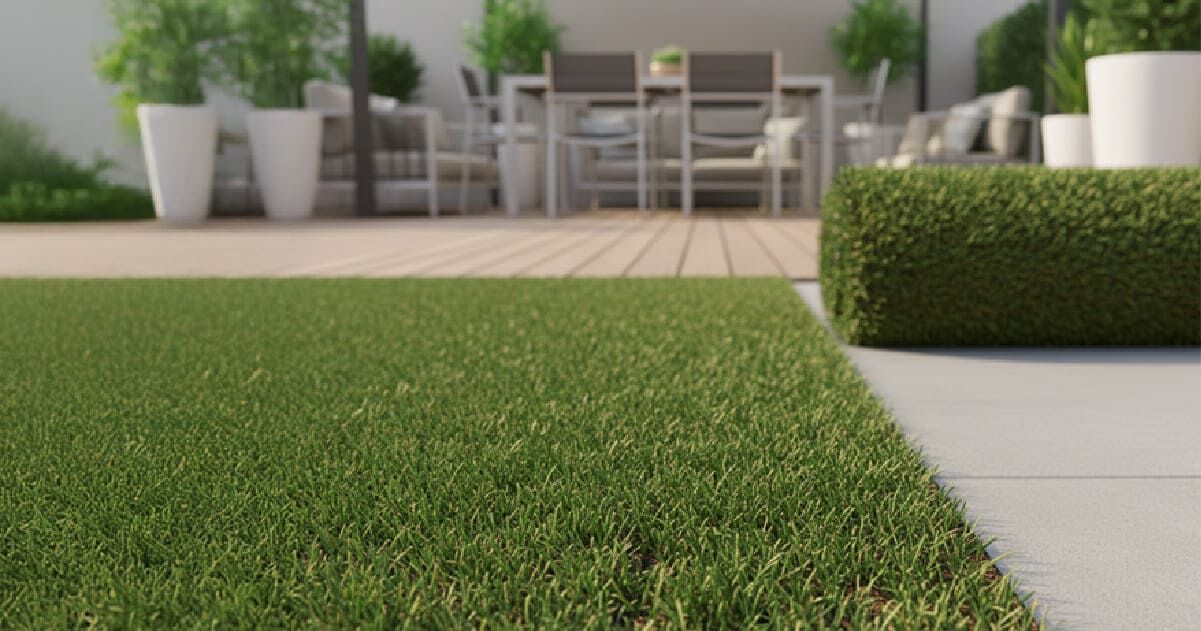
There is nothing better than the feeling of going out onto your terrace and finding a green space, comfortable and always ready to enjoy. No watering, no mud and no constant maintenance.
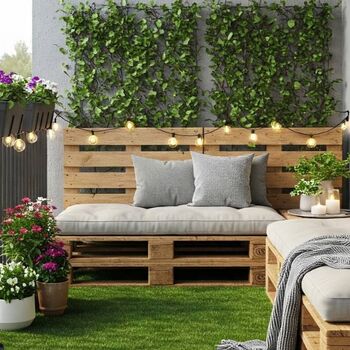
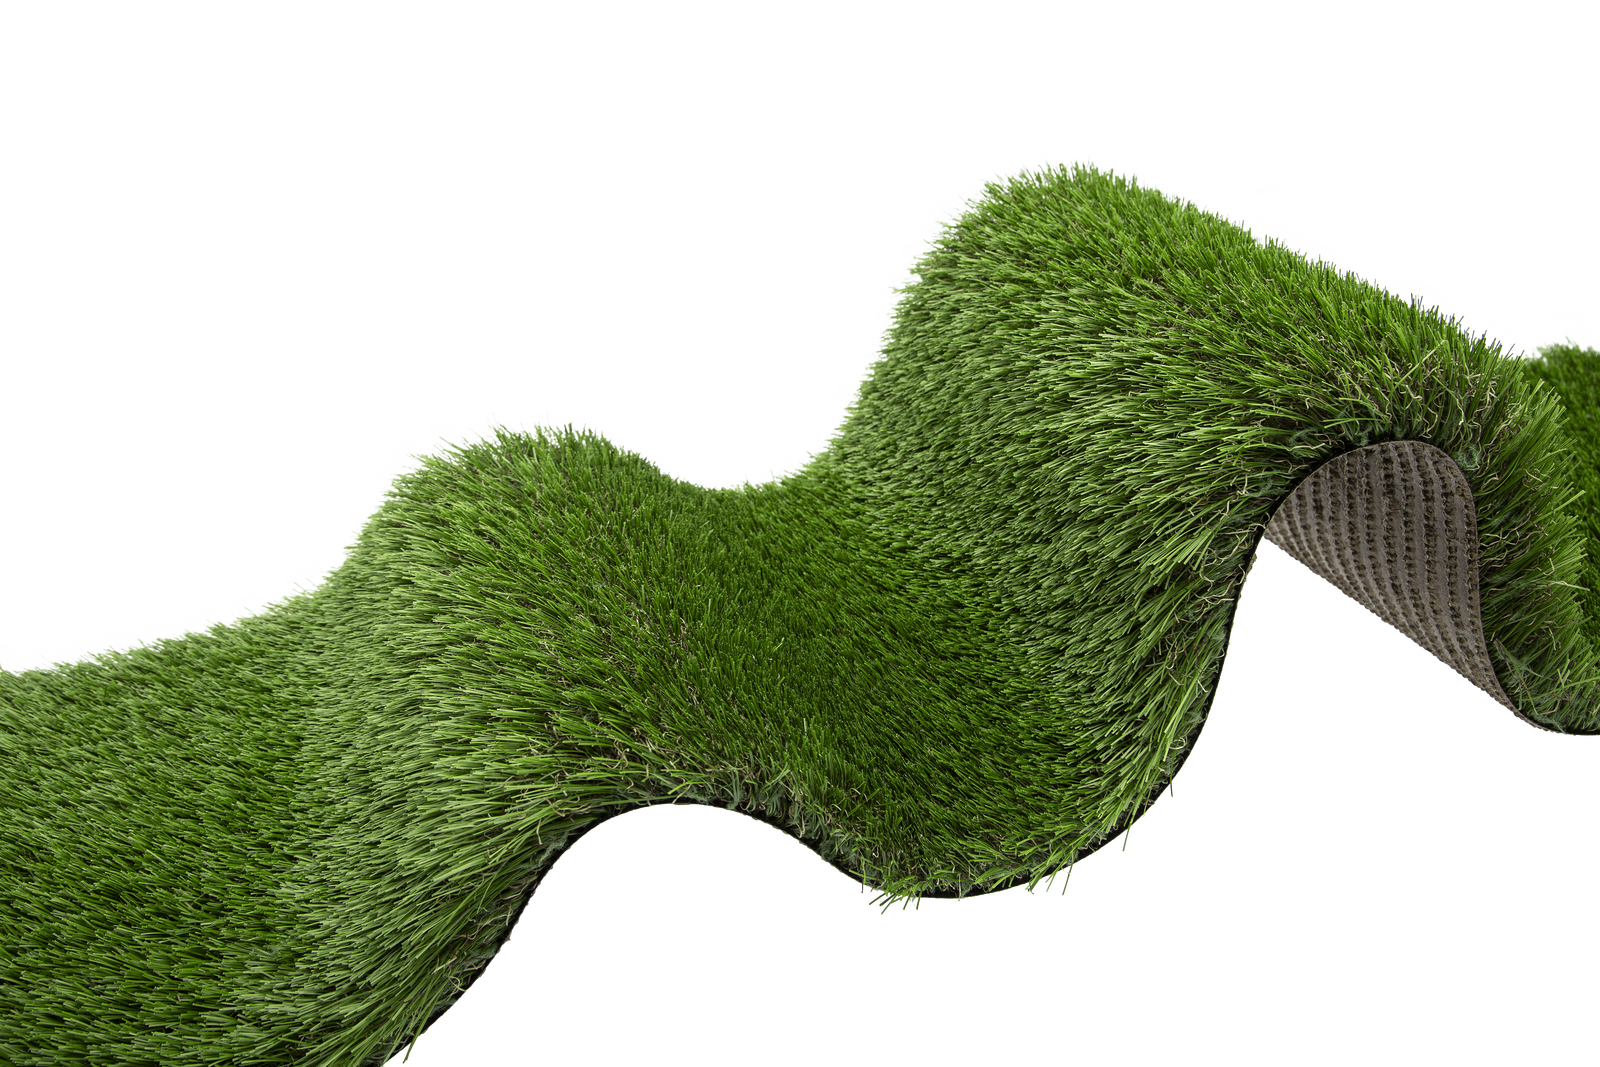
Turfgrass artificial grass transforms any terrace, attic or balcony into a functional and aesthetic environment, able to withstand the sun, rain and the passage of time.
In this guide we tell you, step by step, how to lay artificial grass on the terrace and achieve a professional, long-lasting and natural result.
Are you interested? Keep learning with us!
Installing artificial turf on your terrace step by step
Laying artificial turf on terrace is easier than it sounds, as long as you follow a clear sequence.
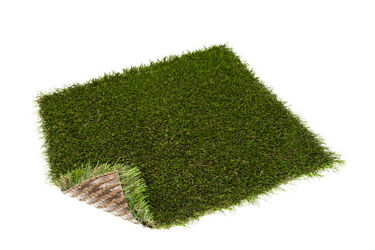
The key is to prepare and clean the ground well, then lay and cut the grass pieces to size, and finally join them together with adhesive tape or special glue and glue them to the ground to fix them in place.
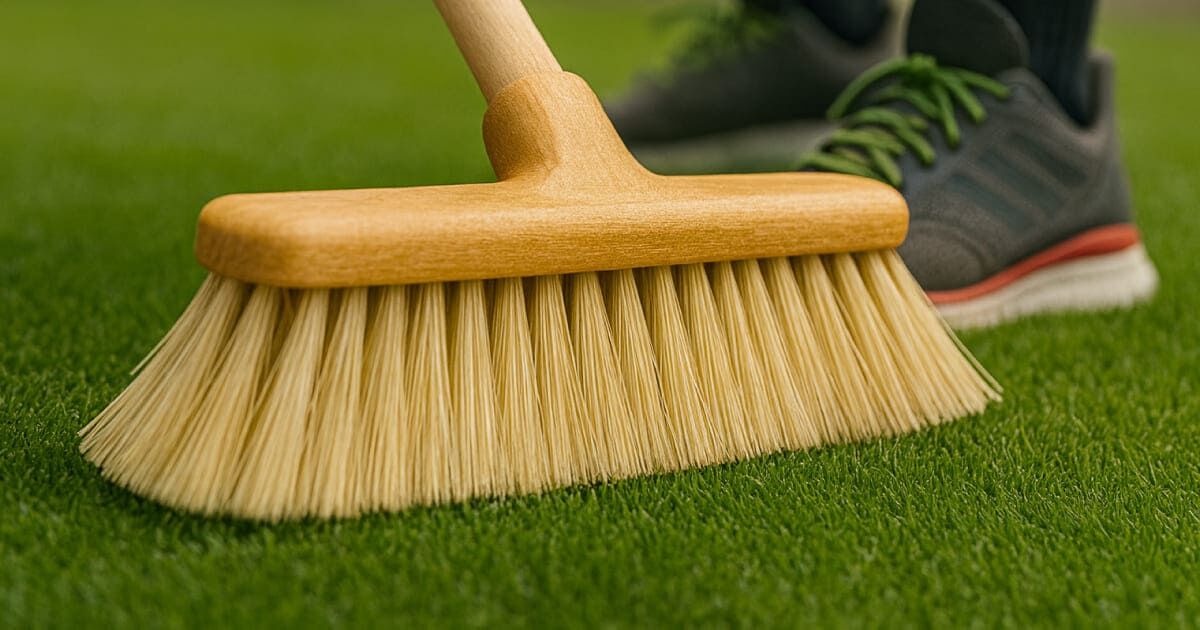
Make sure the joints are well aligned and brush the fibres to give them the finishing touch.
However, here is the summary to help you plan your work and avoid mistakes:
- Prepare the surface:
- Thoroughly cleans the floor and removes leaves, dust, stones or paint residues.
- Check that there is a slight slope to the drains; if not, create a drainage point with a layer of gravel and sand.
- Work on a dry, firm and level surface, whether tile, cement or concrete.
- Measure and mow the lawn:
- Calculate the total area and add an additional 10 % for trimmings.
- Spread the lawns on the terrace, let them settle for a few hours and cut them with a cutter and ruler, adjusting the corners, pillars or downspouts well.
- Join the pieces together:
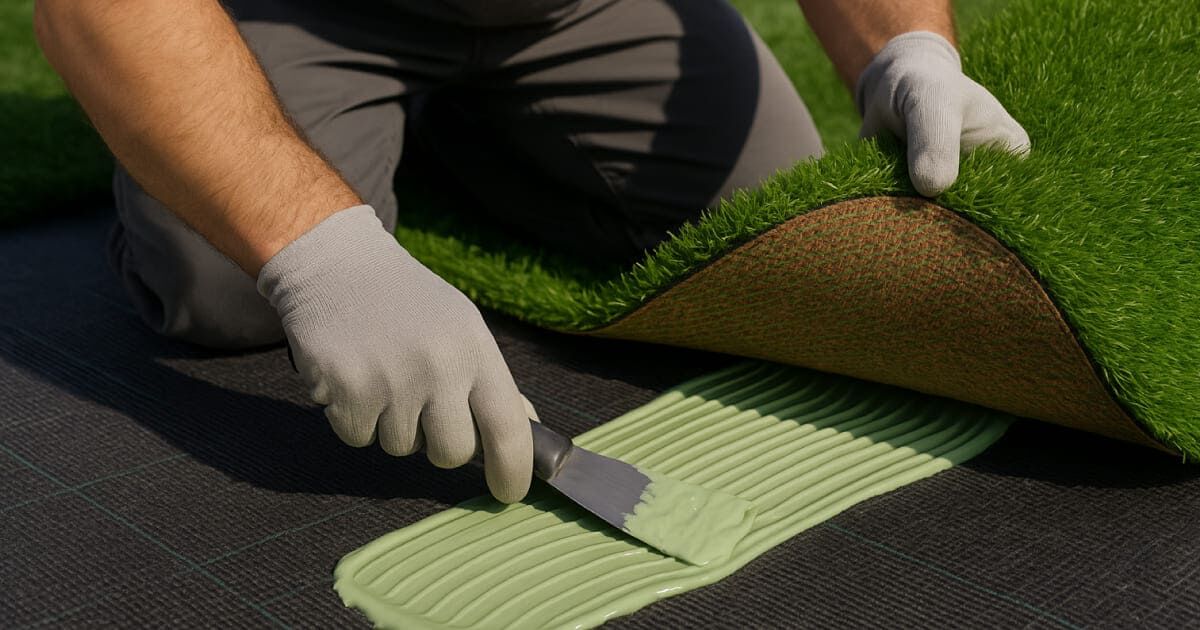
- Place the strips together, always with the hair facing the same direction. You can use self-adhesive tape (quick and clean) or a two-component glue strip (more professional and durable).
- Apply the adhesive with a notched trowel, press the joints together and weight it down until it dries. The goal: invisible joints and a perfectly level surface.
- Sets the perimeter:
- On terraces exposed to the wind, apply adhesive dots around the perimeter or under the edges. If the area is furnished or sheltered, it is sufficient to join the pieces together.
- Trim off the excess and check that there are no raised ends.
- Finishing and final brushing:
- Brush the grass against the grain to lift the fibres and give them volume.
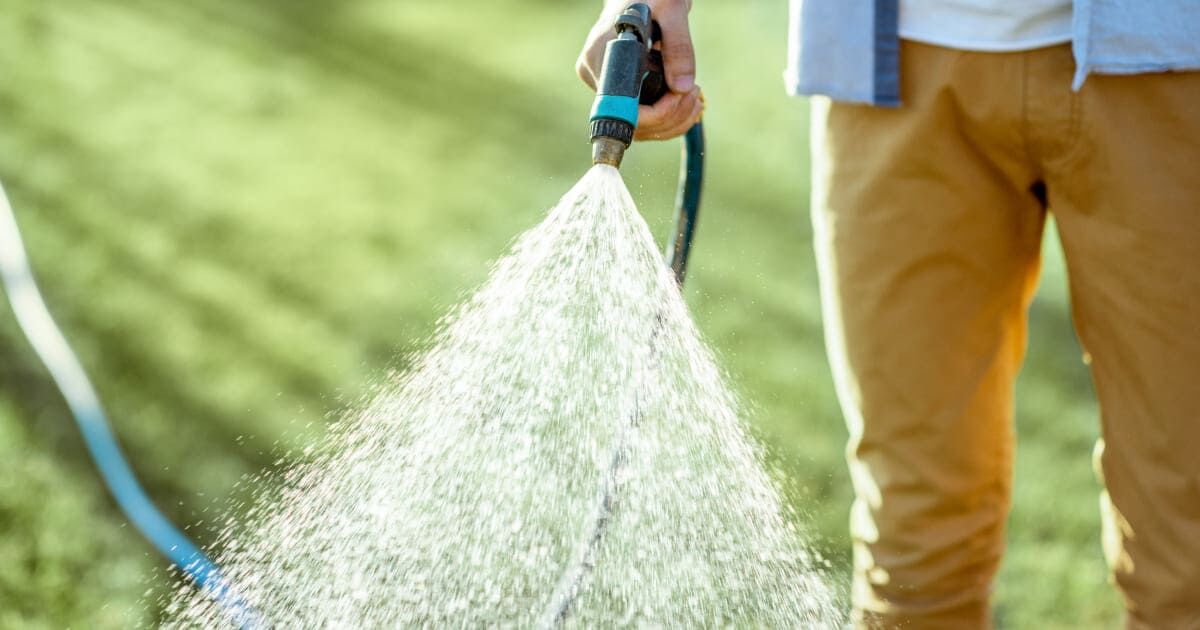
- If you wish, you can add a thin layer of silica sand to improve stability and keep the fibres upright. If you do so, water lightly to settle it.
The best artificial grass for terraces, according to users

The secret of success: preparing the base well
A good base is the difference between a durable lawn and one that deteriorates prematurely. Before installing, clean, level and check the drainage of your terrace.
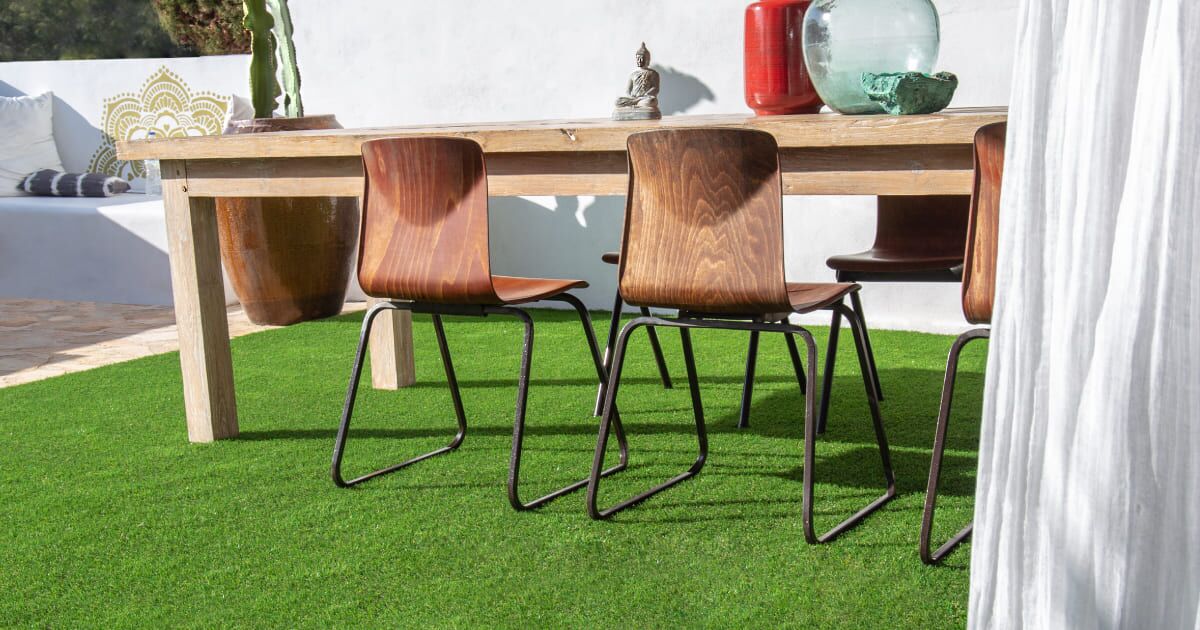
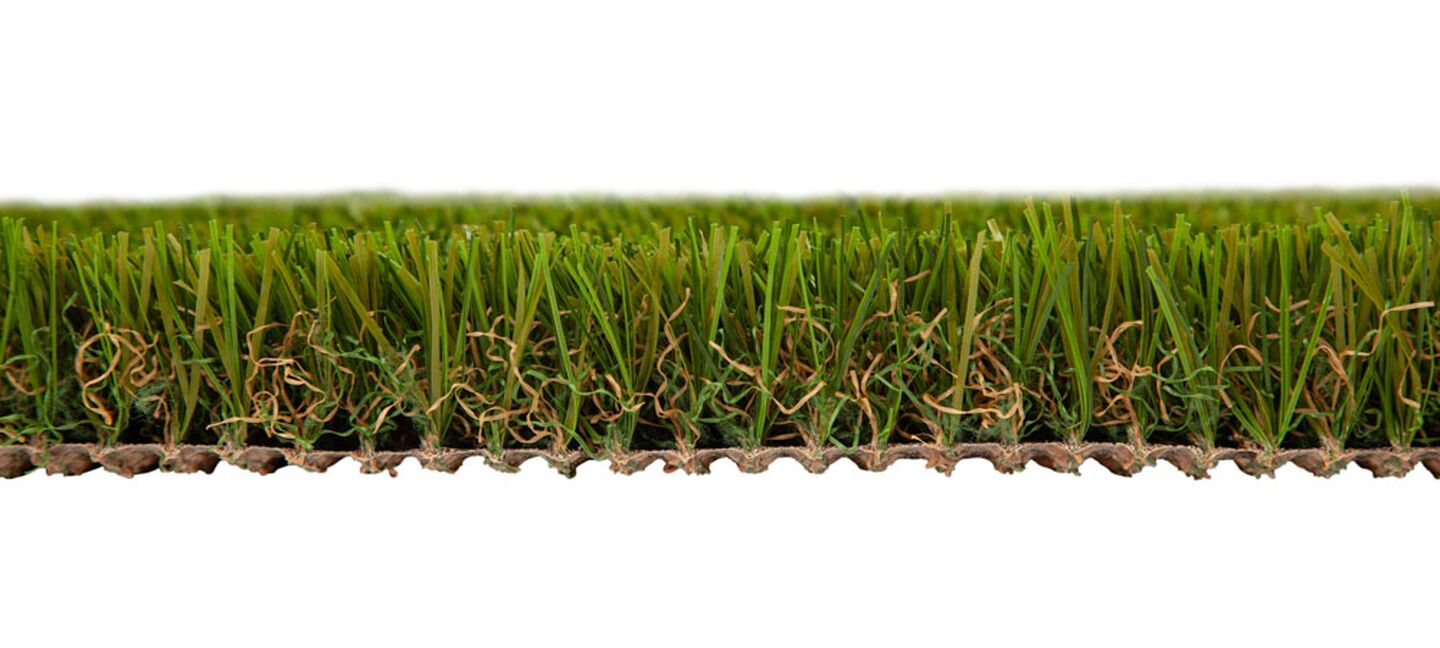
If the water does not flow properly, create an outlet with sand and fine gravel. Turfgrass is suitable for hard surfaces - tiles, concrete or cement - provided they are dry and stable.
To glue or not to glue artificial turf on the terrace?
It depends on your needs.
If you are looking for a firmer and more professional finish, the ideal solution is to use a two-component adhesive for outdoor use: it guarantees stability and prevents movement in the wind.
If you prefer a reversible installation, for example in rented accommodation, you can leave it loose or partially fix it with the weight of the furniture.
Both options are valid: the difference is in the use you are going to make of it.
Tips for a professional and long-lasting finish
For a professional finish on artificial turf, details make the difference:
- Always brush against the grain, lifting the fibres for a more natural look.
- Make clean and precise cuts, using a sharp cutter and a metal ruler to avoid fraying.
- Hide the joints by carefully aligning the fibres and placing weight on them while the adhesive dries.
- Control drainage by checking the slope of the terrace or by opening small drainage channels.
- Avoid using generic adhesives and choose only specific products for outdoor artificial turf.
Maintenance of artificial turf on terraces
Once installed, maintenance is minimal. The cleaning of the artificial turf on the terrace is limited to brushing with a stiff bristle brush and washing with water and neutral soap from time to time.
Does your terrace get a lot of dust or pollen? Then you can use a hose with a gentle spray to keep it clean. And, in shady areas, periodically check the joints and drainage to prevent moisture from building up.
And one last reminder: caring for synthetic turf also includes keeping furniture stable and avoiding sharp objects so that the fibres do not become deformed.
Frequently asked questions on how to lay artificial grass on terraces
What type of grass is best for terraces with a lot of sun?
Models with polyethylene fibres and UV protection are the most resistant to sun exposure.
Does artificial turf create humidity on a terrace?
No. If the base is sloped or well drained, water drains easily.
How long does artificial turf last outdoors?
Between 8 and 12 years, depending on the quality of the product and the maintenance it receives.
How to prevent the corners of the lawn from lifting?
Seal the edges with outdoor adhesive or weight them down with planters or garden furniture.
Is it safe for children and pets on a terrace?
Yes, Turfgrass is non-toxic, non-slip and pleasant to the touch.
Our Turfexpert's summary
By following these steps, you will know how to lay artificial grass on a terrace with an impeccable, long-lasting and natural result:
- Prepare the base well: clean, level and ensure good drainage.
- Respect the direction of the hair on all parts.
- Use bi-component adhesive or outdoor tape if you decide to stick it.
- Brush the turf after installation to even out the finish.
- Clean periodically with water and neutral soap.
From project to perfect terrace
Now you know how to lay artificial grass on your terrace step by step, taking care of every detail to achieve a professional and durable finish.
The next step is to enjoy the result or, if you prefer, leave it in expert hands to ensure a flawless installation.
Do you have questions about materials, adhesives or models? Write to us and we will advise you so that your terrace looks like new.
Related posts
If you found this article interesting, you may also be interested in...