How to Install Artificial Grass Step by Step and Achieve a Lush, Green Garden
¿Are you tired maintaining your garden,mowing the lawn, watering it, and battling weeds? Would you love to have an outdoor space that's always green, with no hassle? The artificial grass is the perfect solution.
Although installing artificial grass yourself can be an affordable option if you follow some guidelines, to achieve the best finish—a lawn that looks natural and requires little maintenance—it’s better to trust professional installers.
However, here at Turfgrass we want to offer you a series of tips on how to install artificial grass step by step. Join us and discover how to transform your garden into a green and vibrant oasis, optimising your efforts and guaranteeing fantastic results.
Learn How to Lay Artificial Grass Quickly
f you want to transform your garden, this practical guide is for you. Our technical team shows you how to install artificial grass in an easy way, so you can do it yourself, in true DIY (Do It Yourself) style. We assure you that the result will be worth it, and it will also bring the following benefits:
Achieve the best possible finish
Before laying artificial turf, the most important thing is to prepare the area well. If you skip this step, your lawn is likely to become loose, move over time or even collect water when it rains. Here are the key points:
5 essential steps to installing artificial turf
1. Prepare the Ground: Level, Assess, and Clean the Area
Preparing the ground ensures that the grass will be placed perfectly.Whether you're laying it in a garden, on a terrace, or another outdoor space, you’ll need to clean the area thoroughly. Check for stones, roots, or other objects that could damage the grass fibres or hinder installation.
If there’s soil, you’ll need to remove any vegetation with a spade, rake, or even a brush cutter, depending on how much you need to remove. After this, ensure the ground is as level as possible.If you find any depressions, fill them with soil and, if there are raised areas, smooth them down with a garden roller.
This cleaning and levelling phase is essential to ensure your artificial grass remains in good condition for a long time. Don’t skip it!
2. Install a Drainage and Leveling Base
The next step is to create a suitable base. How? By placing a 5-10 cm layer of gravel over the levelled ground. This will help water drain properly, preventing puddles from forming on your lawn. Next, add a 2-3 cm layer of sand for a firmer base and allow it to set, without walking on it or wetting it, for at least 24 hours.
If the grass isn’t going in an outdoor area? the base can be lighter, but it’s still important that the surface remains level.
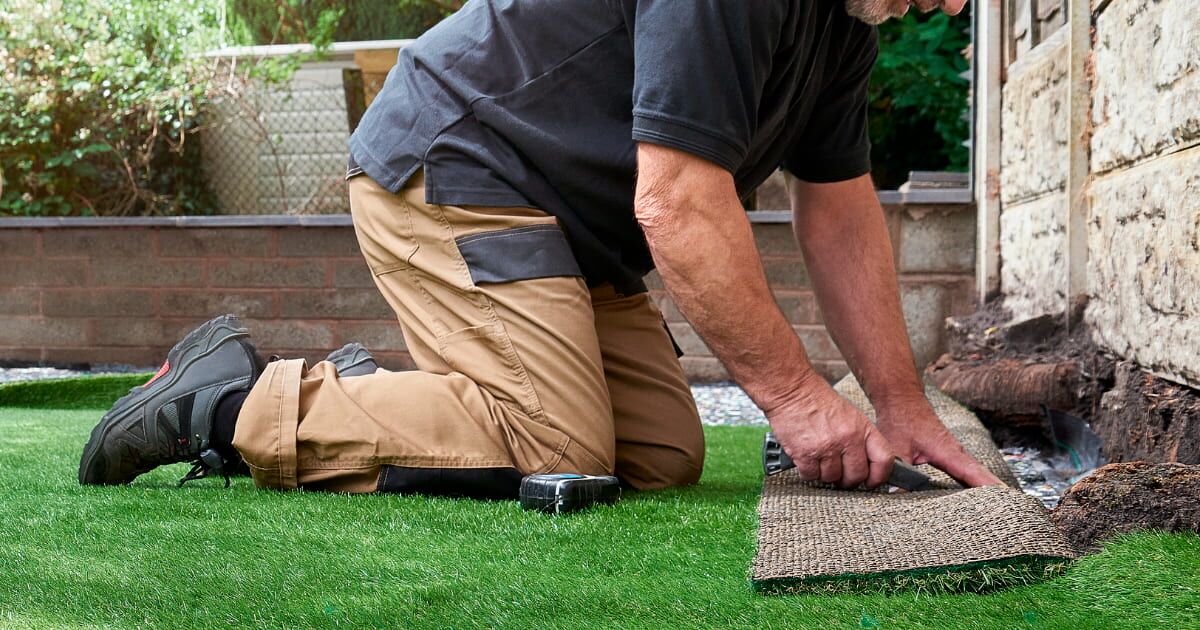
3. Lay the Geotextile Membrane to Prevent Weeds from Growing
One of the main advantages of choosing artificial grass is that it prevents weeds from growing, but this will only work if you don’t forget one key element: the the geotextile membrane. This is a barrier that stops the weeds from growing through the artificial grass. Lay it over the levelled base, cover the entire area, and secure the membrane with special staples or nails so it doesn’t shift during the installation process.
In addition to preventing weed growth, the membrane will also further stabilise the artificial grass, making it an easy and essential task, especially if you’re working in a garden where weeds grow quickly.
"An extra tip: compact the mixture very well with a rammer or a wooden board, so that the base does not move over time, affecting the aesthetics and durability of your lawn".
Technical team of artificial turf installers at Turfgrass
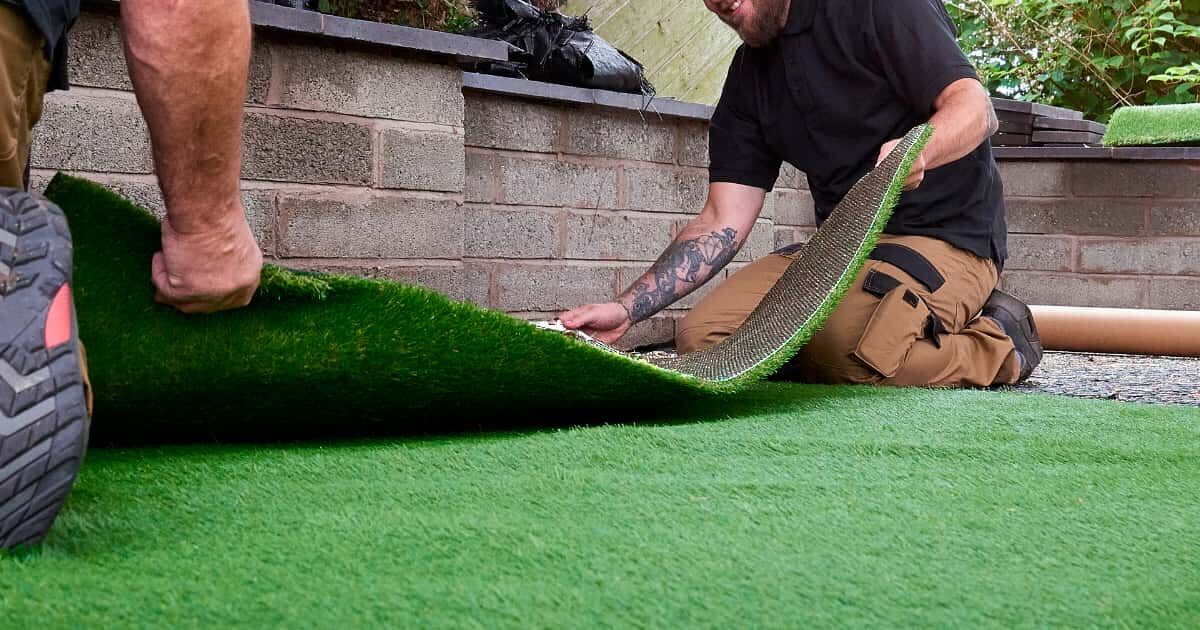
4. Lay and Adjust the Artificial Grass
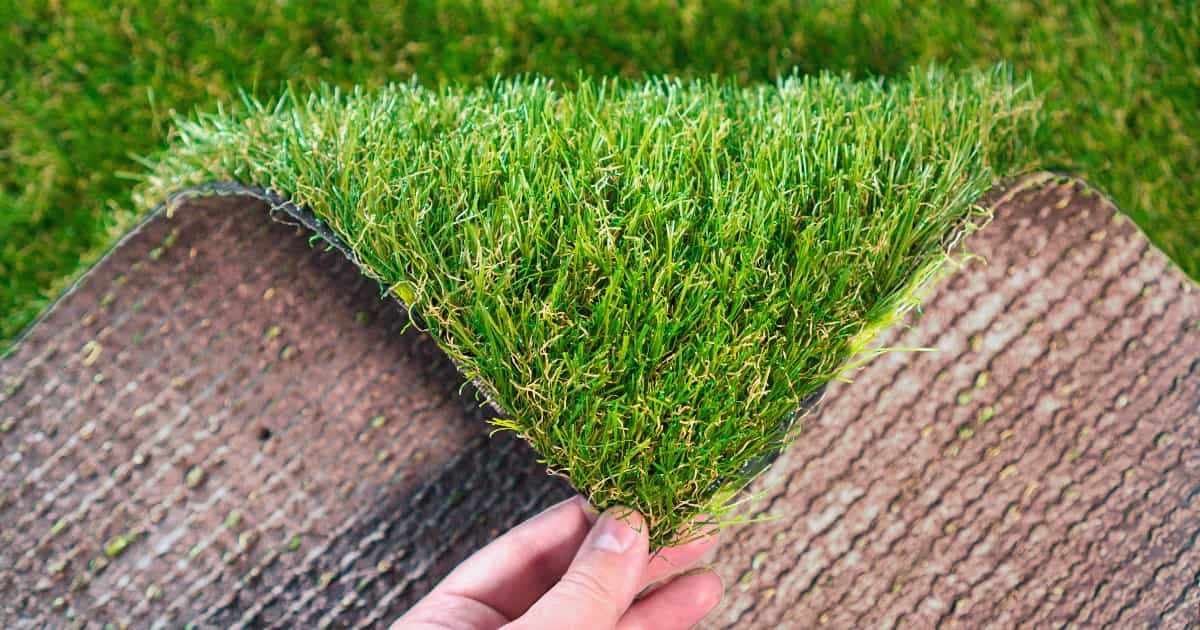
Now comes the most exciting part: ¡laying the artificial grass!! Here’s how to do it:
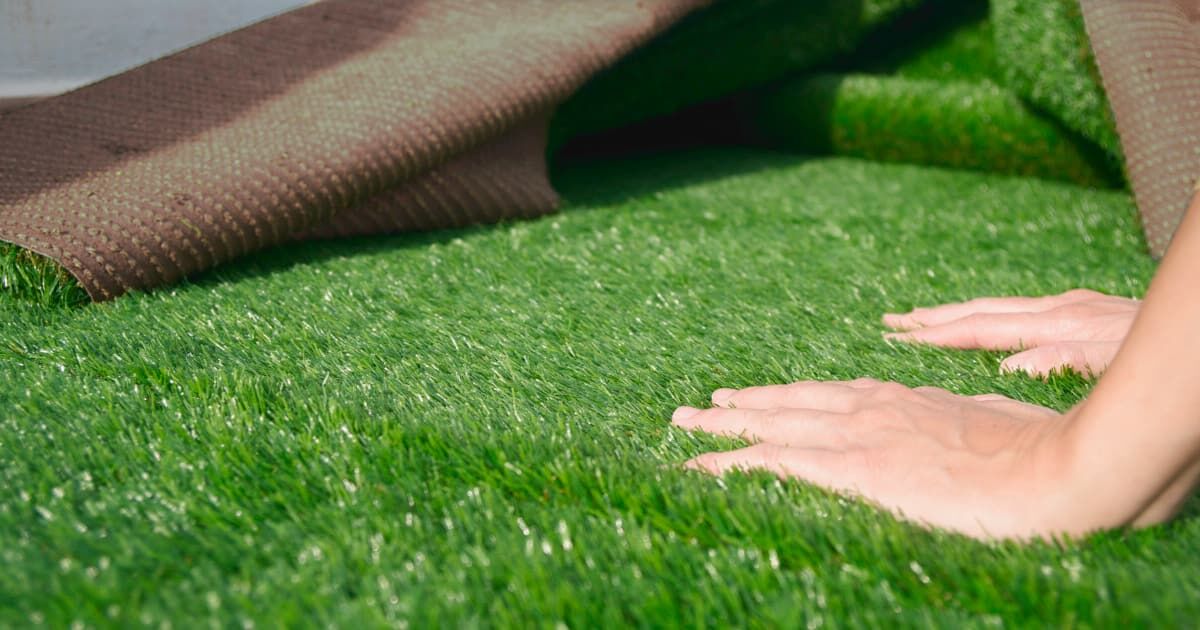
- Unroll the pieces of artificial grass onto the prepared base and check that the fibres are all in the same direction. Remember, the grass will look more natural if the fibres face you or whoever is looking at it.
- If the grass doesn’t perfectly fit the ground, trim the edges with a utility knife or garden scissors to make it the right size.The key is to do it precisely, so there are no untidy edges.
- Adjust the pieces of grass until they fit together completely and there are no gaps between them, which often happens, especially on larger surfaces if not done correctly.
5. Secure, Finish, and Fill to Ensure a Durable Installation
To prevent your artificial grass from shifting with use, use staples or nails, evenly spaced, to secure it at the edges and joints. This is crucial to make sure the seams aren’t visible. This way, the grass won’t move with the wind or with heavy use.
You can also fill the grass with silica sandto give it a finishing touch and ensure that the fibres stand upright, while also increasing the installation's stability and improving its drainage. This process is called "top dressing" and is done by using a rake to evenly spread the sand, then watering the grass to help it settle and look even
The result will be perfectly installed artificial grass, with a professional finish that will last for years.
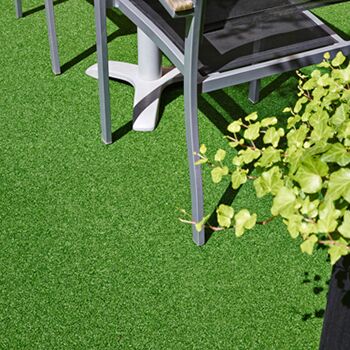
How to Install Artificial Grass Depending on the Surface
By now, you’ve probably realised that depending on where you install the artificial grass, the process will vary a bit. Here are the variations according to the type of surface:

Do you want to install artificial turf and are looking for a reliable professional?
You're just one step away! Explore our installation points, where we have certified installers ready to transform any space. The Turfgrass team listens to your needs and offers customised solutions to turn any room or surface into the garden of your dreams. What are you waiting for to make it happen?
Related posts
If you were interested in this article, you might be interested in...